

Fresh homemade bread is one of life’s delights. Whether you eat it still slightly warm with butter, as a sandwich or to sop up the last of the soup, it is a rare treat. This recipe can make that rare treat into an everyday occurrence. I’ve been using the seeded wholemeal sandwich loaf recipe for the last year as my everyday loaf, replacing shop brought bread. It’s simple and reliable with minimal hands on time.
Why a seeded wholemeal sandwich loaf
When seeds are added to the top of a loaf they generally ping off as you slice the loaf. However, in this seeded wholemeal sandwich loaf the seeds are embedded within the loaf itself. The seeds give the bread a nice bite and texture further improving the enjoyment of eating.
Bread making is both easy and complex at the same time. The process is straight forward but the main ingredient can cause chaos. The flour that you use is the most critical part of bread making. It is susceptible to temperature and humidity, which affects how much moisture it can hold. To make it more complicated you will find flour from different brands can hold different amounts of moisture. For instance Marriages flour that I use can take the 260ml (9.2oz) of water but Allisons flour can only take 250ml( 8.7oz) without being too wet. Both flours make excellent loaves of bread but if your dough is too sticky try it with a little less water.
Prepare the dry ingredients
In a jug add the water, a mix of boiling and cold tap water in the ratio 1:3. The temperature of the water should be between 49-55°C (120-130°F) to activate the yeast. Too cool and it will be too slow, too hot and the yeast will be killed. To this water sprinkle over the yeast, stir and set the jug aside for 10 minutes, in the meantime prepare the dry ingredients.
Prepare the dry ingredients
In a mixing bowl add 80g pf wholewheat bread flour, 340g white bread flour, 40g of seeds (my standard mix is 20g sunflower and 20g pumpkin seeds) and combine by hand.
Initial mix and rest
Add the water/yeast mixture and 20g of oil to the dry ingredients and mix to a shaggy dough. A shaggy dough is where all the dry ingredients have been incorporated but the dough looks "shaggy" and not smooth. Allow to autolyse for 10 minutes. Autolysing allows the flour to hydrate, absorb the water, and triggers enzymes to start gluten development and breaking down starch into sugars. The result is dough that is easier to manage and that stretches rather than tearing.
Knead dough
Knead the dough for 15 minutes until it is smooth and stretches rather than tears. Spend the time to knead the dough as this develops the gluten and creates a stronger dough.
Kneading with a stand mixer with dough hook removes the hard work but it can be done by hand, consider it a workout.
To knead by hand leave the dough in the mixing bowl and using your finger tips, grasp the edge of the dough at the back of the bowl, stretch it up and pull it over the dough to the front edge of the bowl. Turn the bowl through 90° and repeat the stretching action. Repeat the stretch and rotation until the dough starts to become smooth. Tip the dough onto a un-floured work surface and continue kneading. If the dough is sticking to the work surface use the bowl scrapper to release the dough after each stretch.
First proof
Form the dough into a tight ball by using the bowl scrapper and your hand to tuck the dough under itself. Rotate the dough by 90° and repeat the action. Keep repeating the action and rotation until the dough ball has surface tension, you should be able to poke the surface and feel resistance. Place the dough in a lightly oil bowl, reusing the initial mixing bowl is fine. Cover the bowl with plastic wrap and a tea towel. The plastic wrap stops the dough from forming a skin and the tea towel helps to retain the warmth in the bowl. Instead of plastic wrap I use a disposable shower cap. Place the bowl in a warm location to allow the dough to double in size. At 20°C (68°F) it takes around 50 minutes to reach this size.
Shaping and second proof
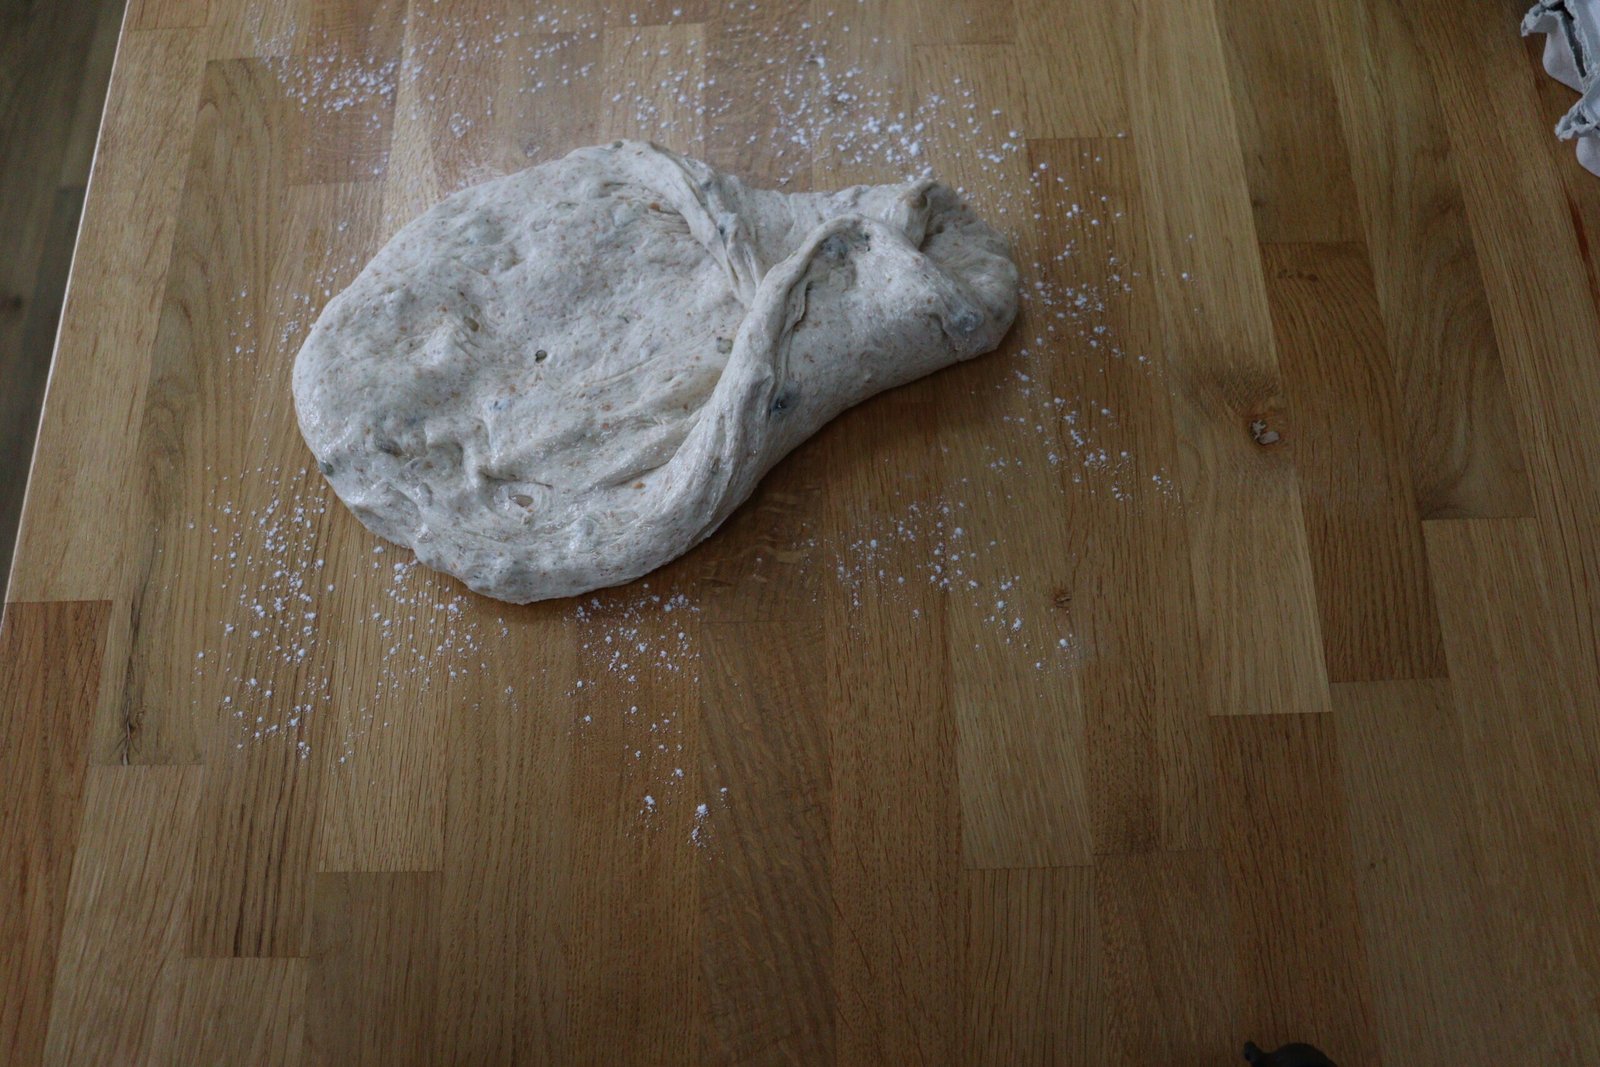
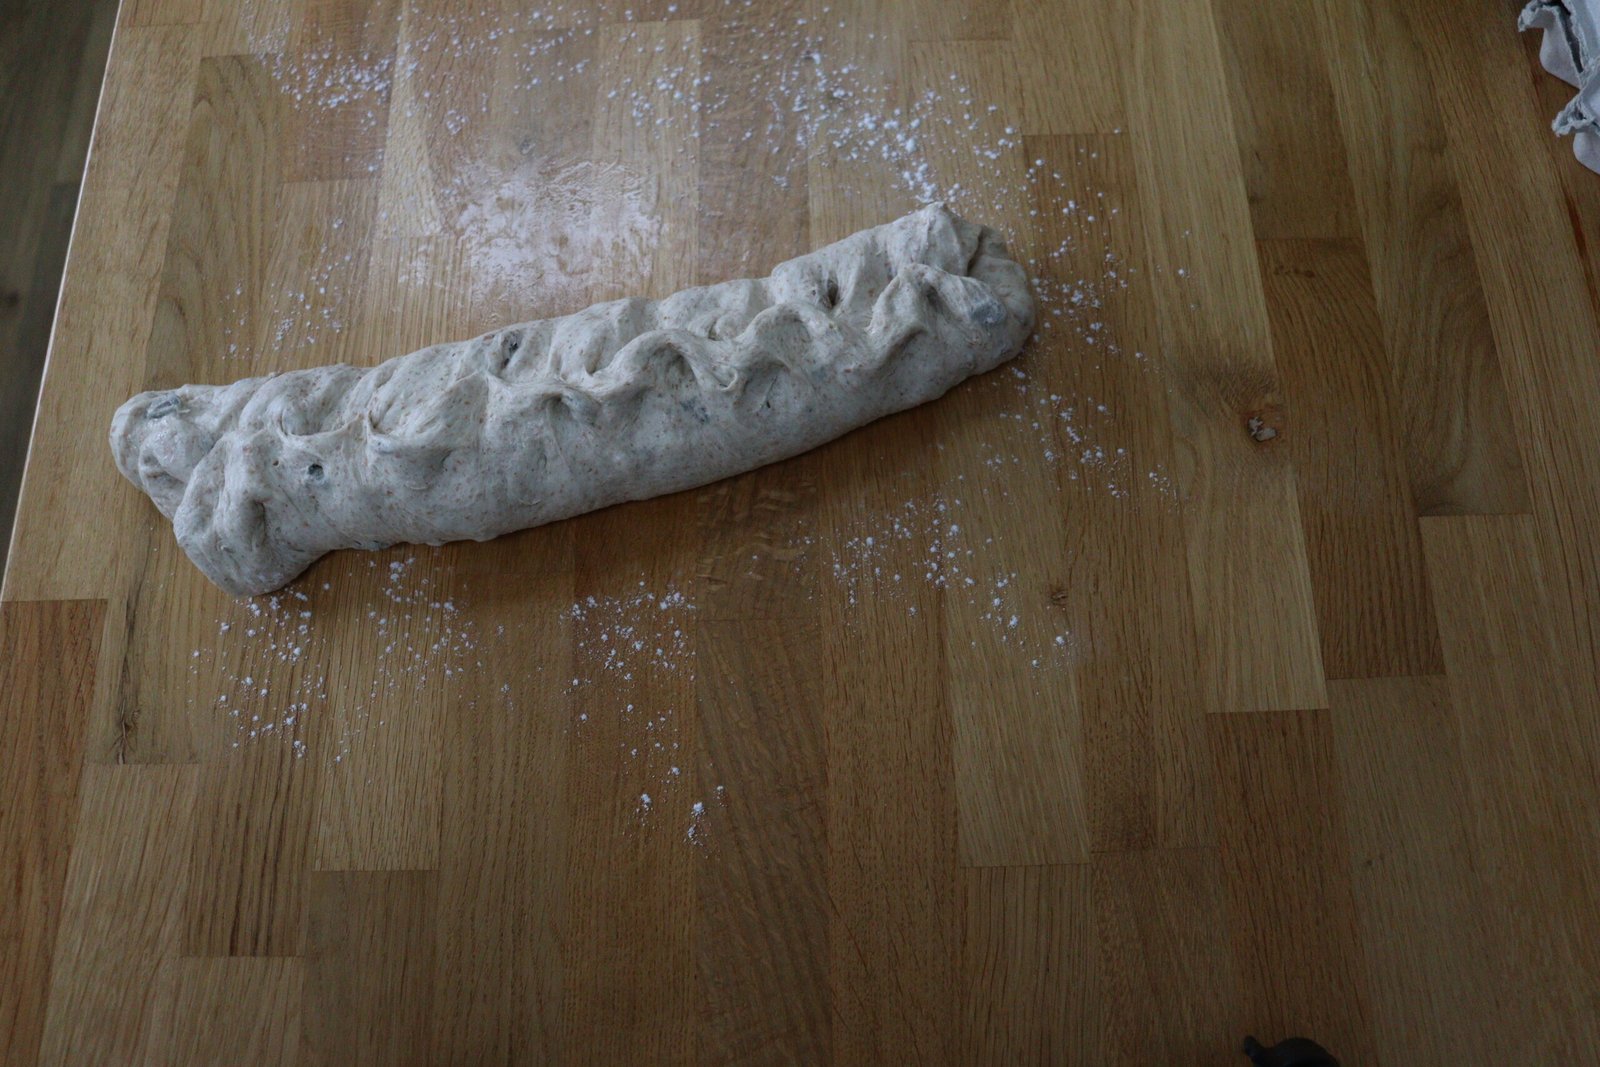
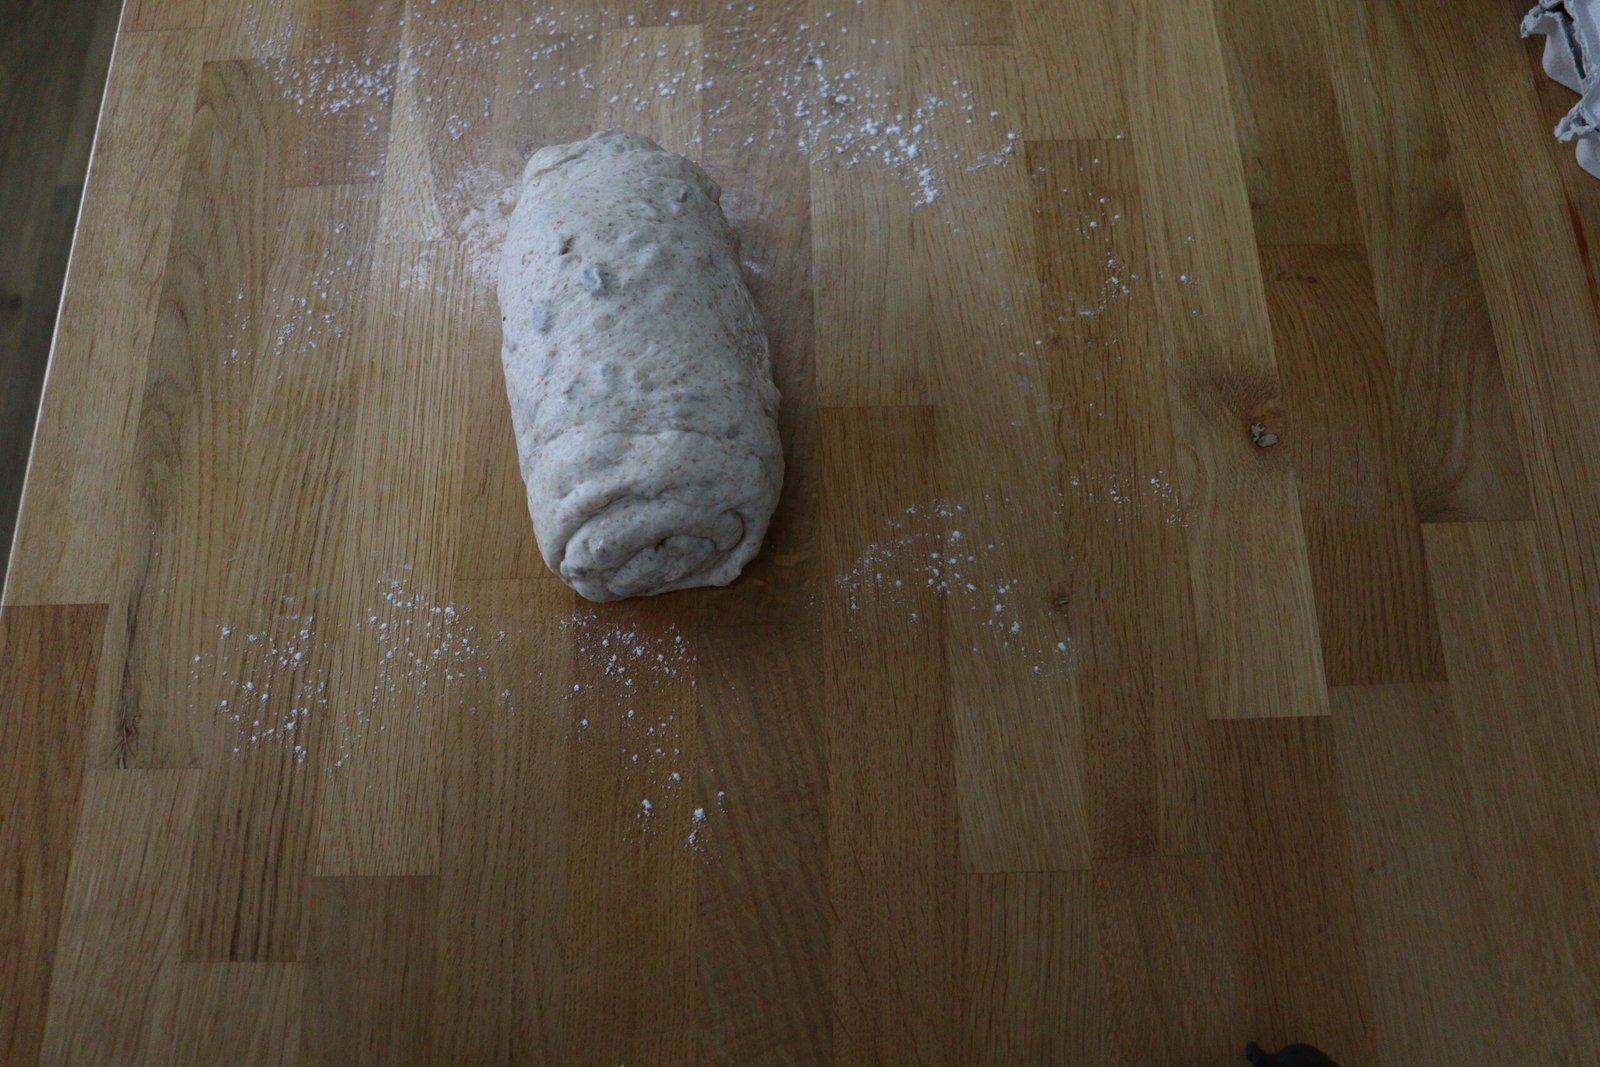
Once the dough has doubled in size, release the edges of the dough and tip onto a lightly floured surface. Knock out the air and flatten the dough into a rough rectangle. Working down the long edges, lift the edge and fold into the centre and pinch the dough together. Once you have worked down both sides you will be left with a rectangle have the width you started with. Repeat the process, leaving you with a long narrow rectangle. Working from the narrow end, roll the dough up tightly. As you roll the dough will form a log. Once rolled pinch the ends to seal them.
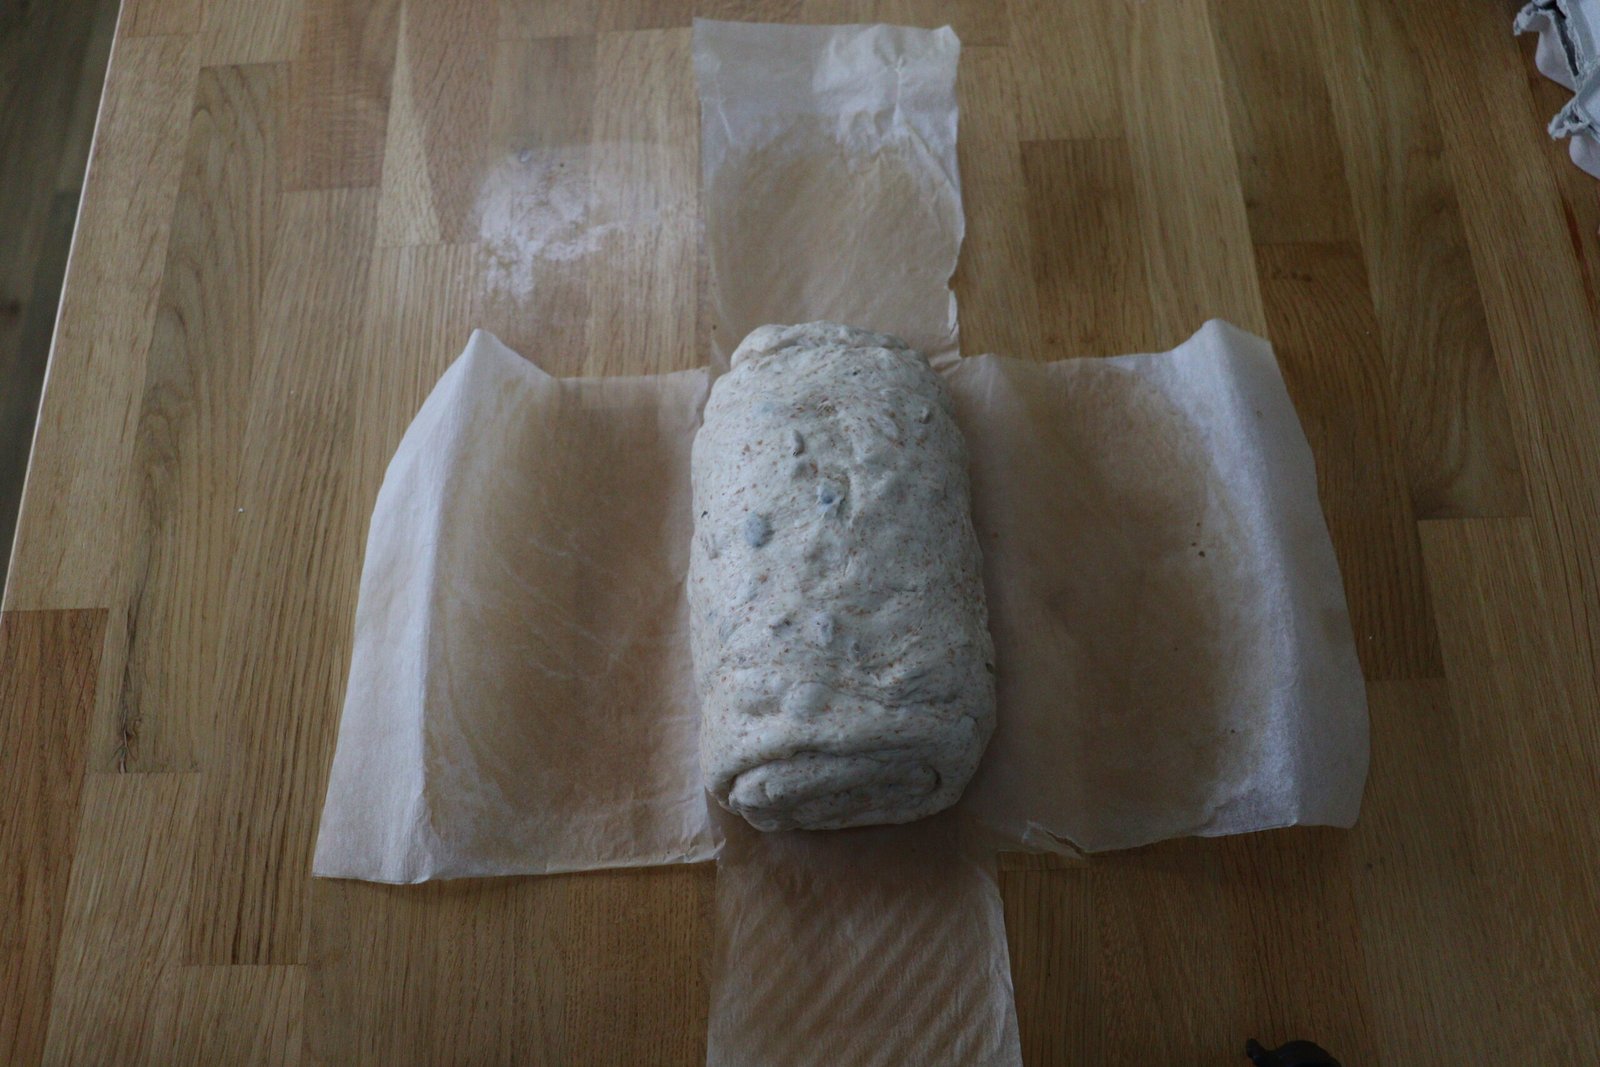
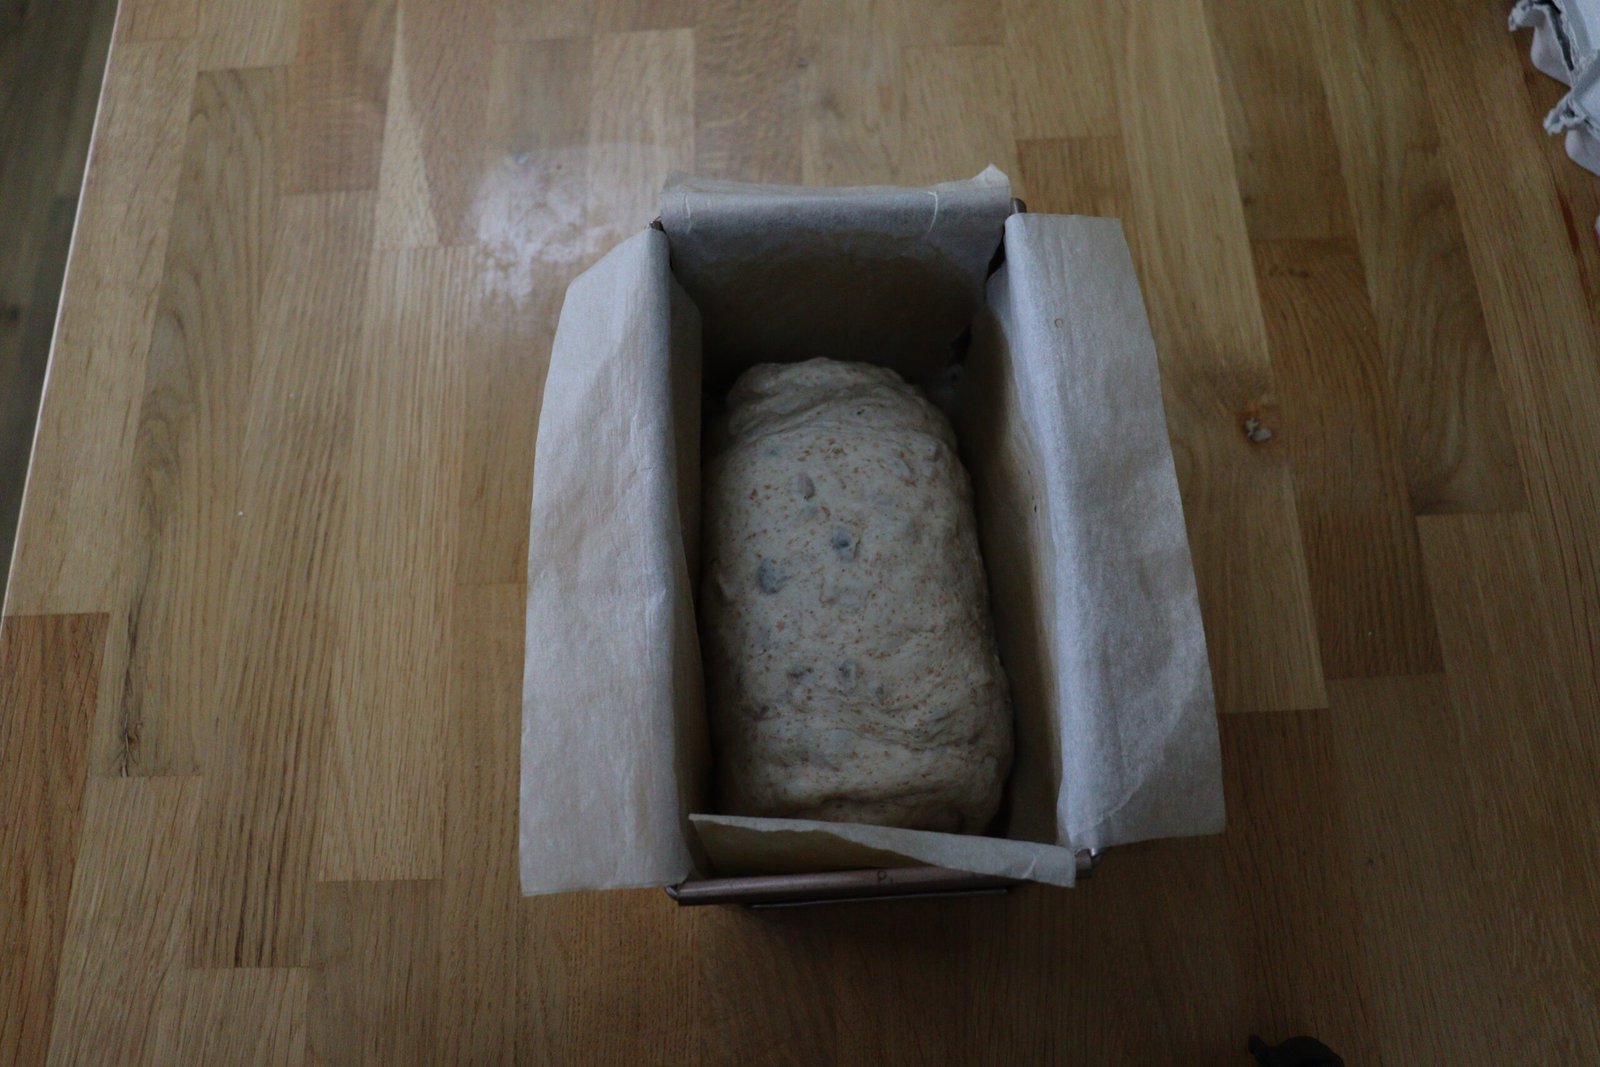
Place the rolled up dough onto the liner for the pullman tin or directly into the tin. I use parchment paper as a liner to save oiling the surface of the tin and it also allows easy removal of the cooked bread. Cover the pullman tin with plastic wrap and leave in a warm place until the top of the dough has risen to the top of then tin. We are looking for any part of the dough to be inline with the top of the tin as we can expect the dough to continue rising when placed in the oven, this is called oven spring.
Bake
Remove the plastic wrap and place in the centre of a cold oven. Turn on the oven and bake at 180°C (355°F) for 50 minutes.
Take the tin from the oven and remove the loaf. Check that is baked by tapping on the sides and bottom. It should sound hollow. If not quite done, return to the oven for an extra 5 minutes.
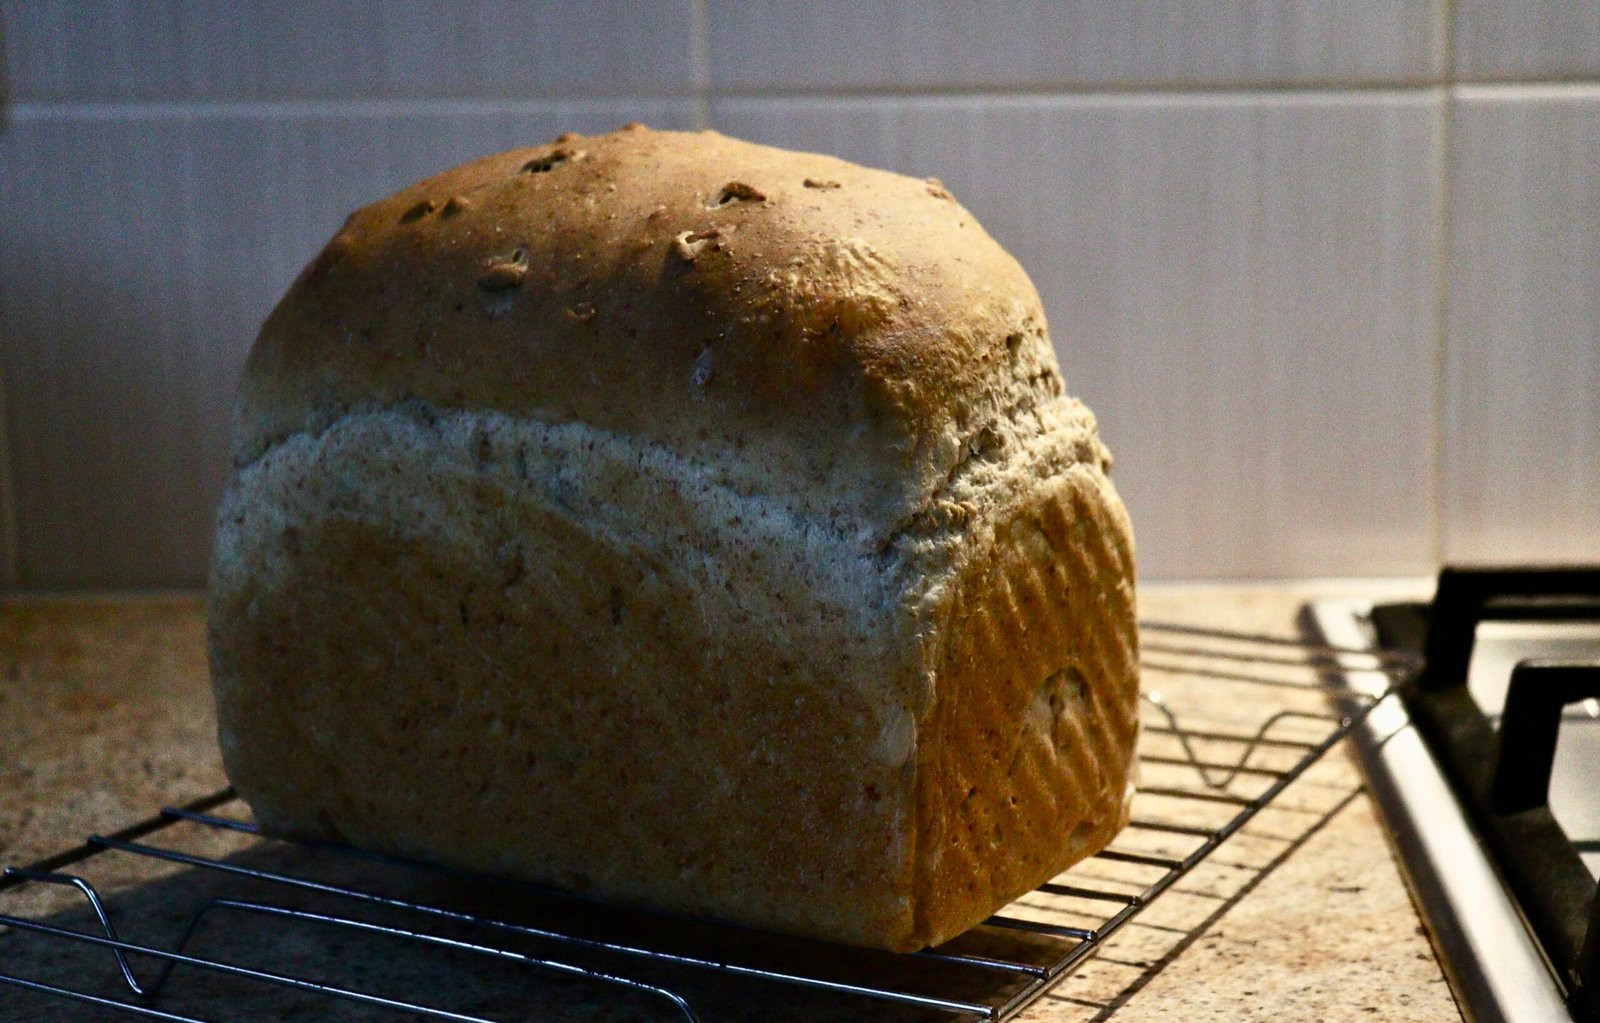
When baked place on a wire cooling rack for at least an hour, if you can resist the smell. The beauty of this seeded wholemeal sandwich loaf is it will stay fresh in a bread bin for up to three days. It makes cracking toast.


Seeded Light Wholemeal Loaf
Ingredients
Equipment
Method
- Add 172g cold water to jug
- Add 88g boiling water to jug
- Sprinkle 5.5 g instant yeast on to the water and stir
- Set aside for 10 minutes to allow the yeast to fully activate. A foam will form on the surface
- Add 20 g oil to the wet ingredients
- To a mixing bowl add 360 g strong white bread flour,80 g strong wholemeal flour and 40 g seeds and combine by hand
- When the wet ingredients are ready pour into the dry ingredients and mix to a shaggy dough.
- Allow the shaggy dough to rest for 10 minutes.
- Add the salt to the dough.
- Mix the dough in a mixer with dough hook for 15 minutes on a low to medium speed or knead by hand for 15 minutes.
- Tip the dough onto a work surface
- Using your hand and scrapper to shape the dough into a tight ball by push your hand/scrapper under the dough and pull towards you. The surface of the dough will tighten as you continue to move the dough.
- Lightly oil the mixing bowl and place the dough back into the bowl.
- Cover the bowl with cling film or shower cap and add a tea towel on top to help keep the dough warm.
- Place the bowl in a warm place to allow the dough to double in size. At around 20°C the dough will double in approximately 1 hour.
- Lightly flour a work surface
- Remove the tea towel and cling film and ease the dough away from the edge of the bowl.
- Tip the dough onto the floured work surface.
- Flatten the dough into a rectangle, knocking out the air. Working up the long edge, take the edge and fold into the centre. Push down in the centre. Repeat on the other side.Begin rolling up the dough tightly from the narrow edge, creating a tight log. As you roll the dough will create a log, aim the log to be the same length as the pullman tin.
- Place the dough into the pullman tin and cover with cling file/shower cap.
- Place in a warm place to rise for 30 – 45 minutes.
- When the dough has risen to the top of the tin, remove the cling film
- Place the tin in the centre of a cold oven and bake for at
 180 °C/
 190 °C
 - After 50 minutes remove from the oven. To check if done, remove the loaf from the tin and tap on the bottom. It should sound hollow.If not done, return the loaf to the tin and place back in the oven for a further 5 minutes.
- When baked, allow to cool for at least an hour before slicing.